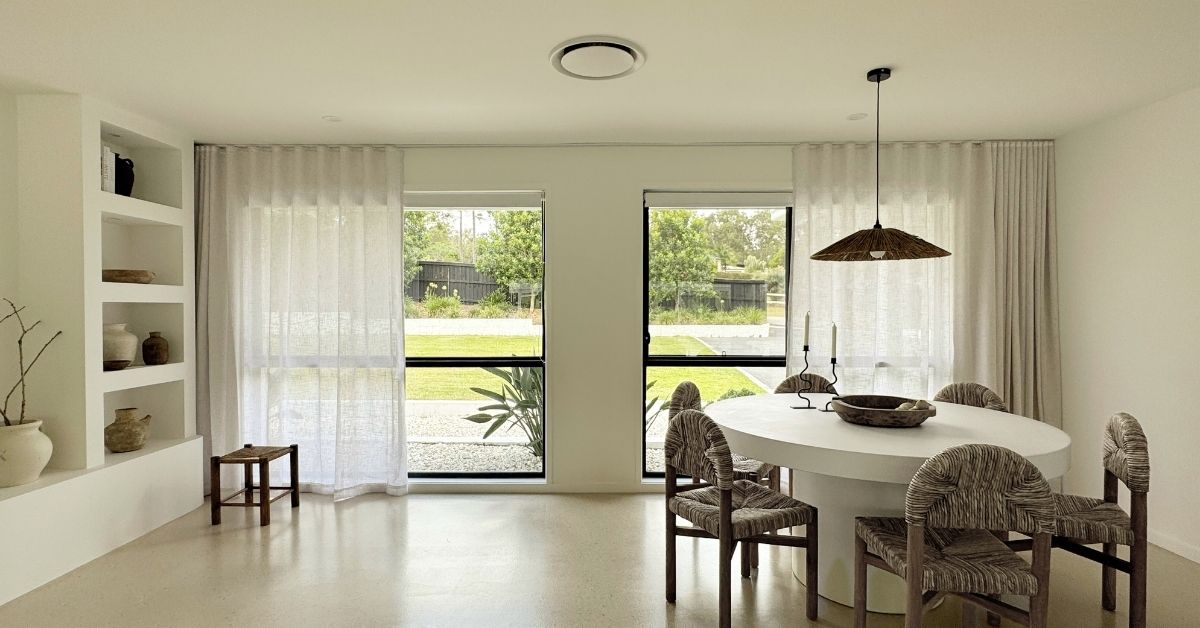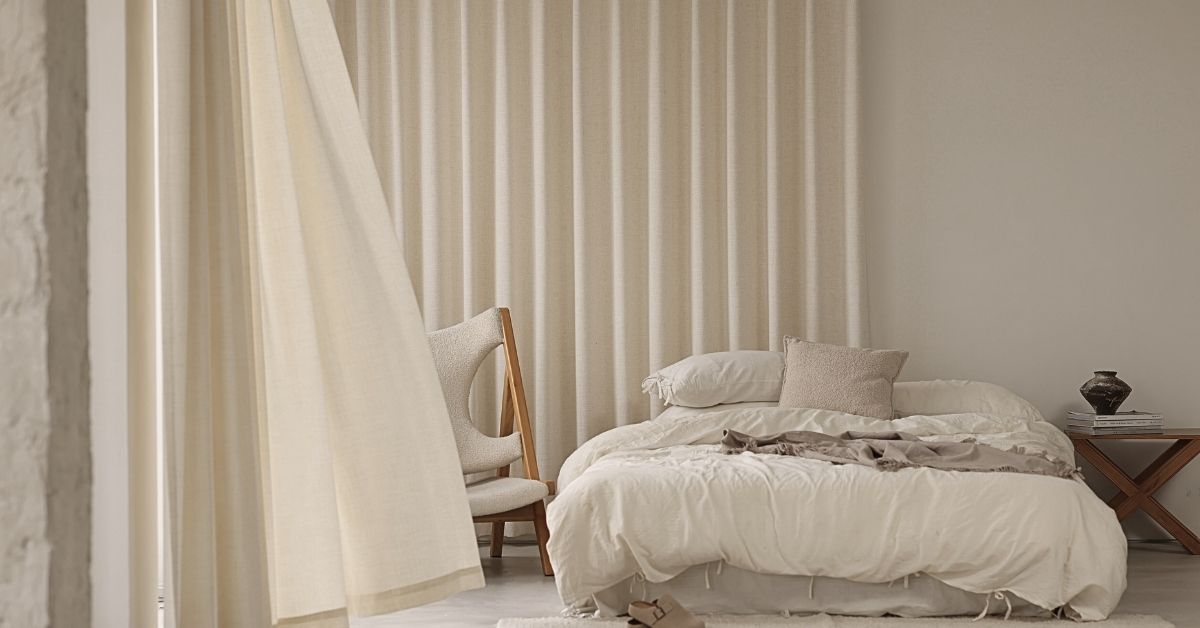
The windows in your home are more than just structural elements that allow you to naturally light a room. When properly covered, windows can be an extension of your interior design, and nothing accomplishes this better than layered window treatments. If you have been considering injecting some style into your current treatments but you are unsure how to layer curtains properly, have no fear: the experts at Quickfit Blinds & Curtains are here to help. Shop our quality curtains online today to discover endless possibilities for creating custom layered treatments that will complement any room!
How to Layer Curtains in Six Easy Steps
We discussed the benefits of layering your window coverings in a previous post, and in today’s post, we will dig a little deeper into the topic.
Read on to discover six steps that will have you layering sheer and blockout curtains like a pro.
- Locate studs
- Install curtain rod brackets
- Hang sheer panels
- Hang blockout panels
- Secure finials
- Consider adding a pelmet and holdback
Step 1: Locate Studs
This is an essential part of hanging curtains that homeowners often skip, but it is important to remember that layered window treatments will be much heavier than traditional ones. Additionally, if you have pets or children in the home, your curtains may get the occasional tug and if the bracket comes loose from the wall, someone could be injured. To help you locate the studs, remember that wall studs are typically placed 16 or 24 inches on-centre. If there are no studs close enough to your window, wall anchors will help ensure your brackets are sturdy.
Step 2: Install Curtain Rod Brackets
Once you have located the wall studs, it is time to install your curtain rod brackets. When you are learning how to layer curtains, finding the right bracket is critical. All of the brackets sold by Quickfit Blinds & Curtains include their own mounting hardware and instructions. As a general rule of thumb, position your brackets at least one to two inches outside the frame on each side. The higher you hang your curtains, the larger the window will appear. Be sure to select a bracket that can accommodate two or more rods so that you can begin assembling your layers.
Step 3: Hang Sheer Panels
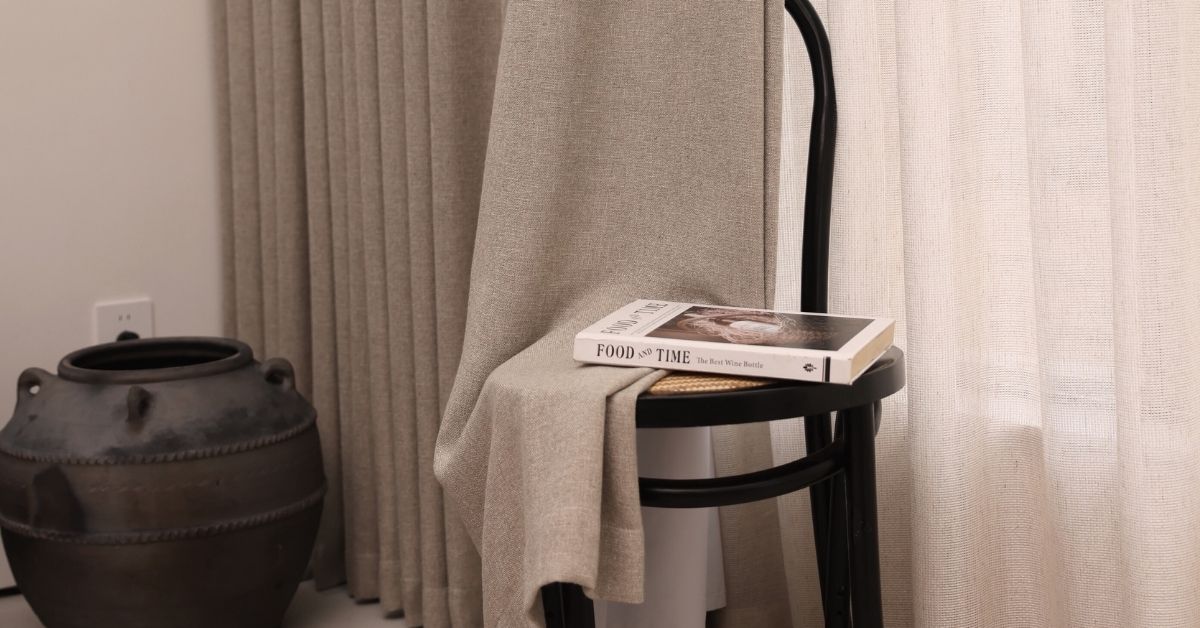
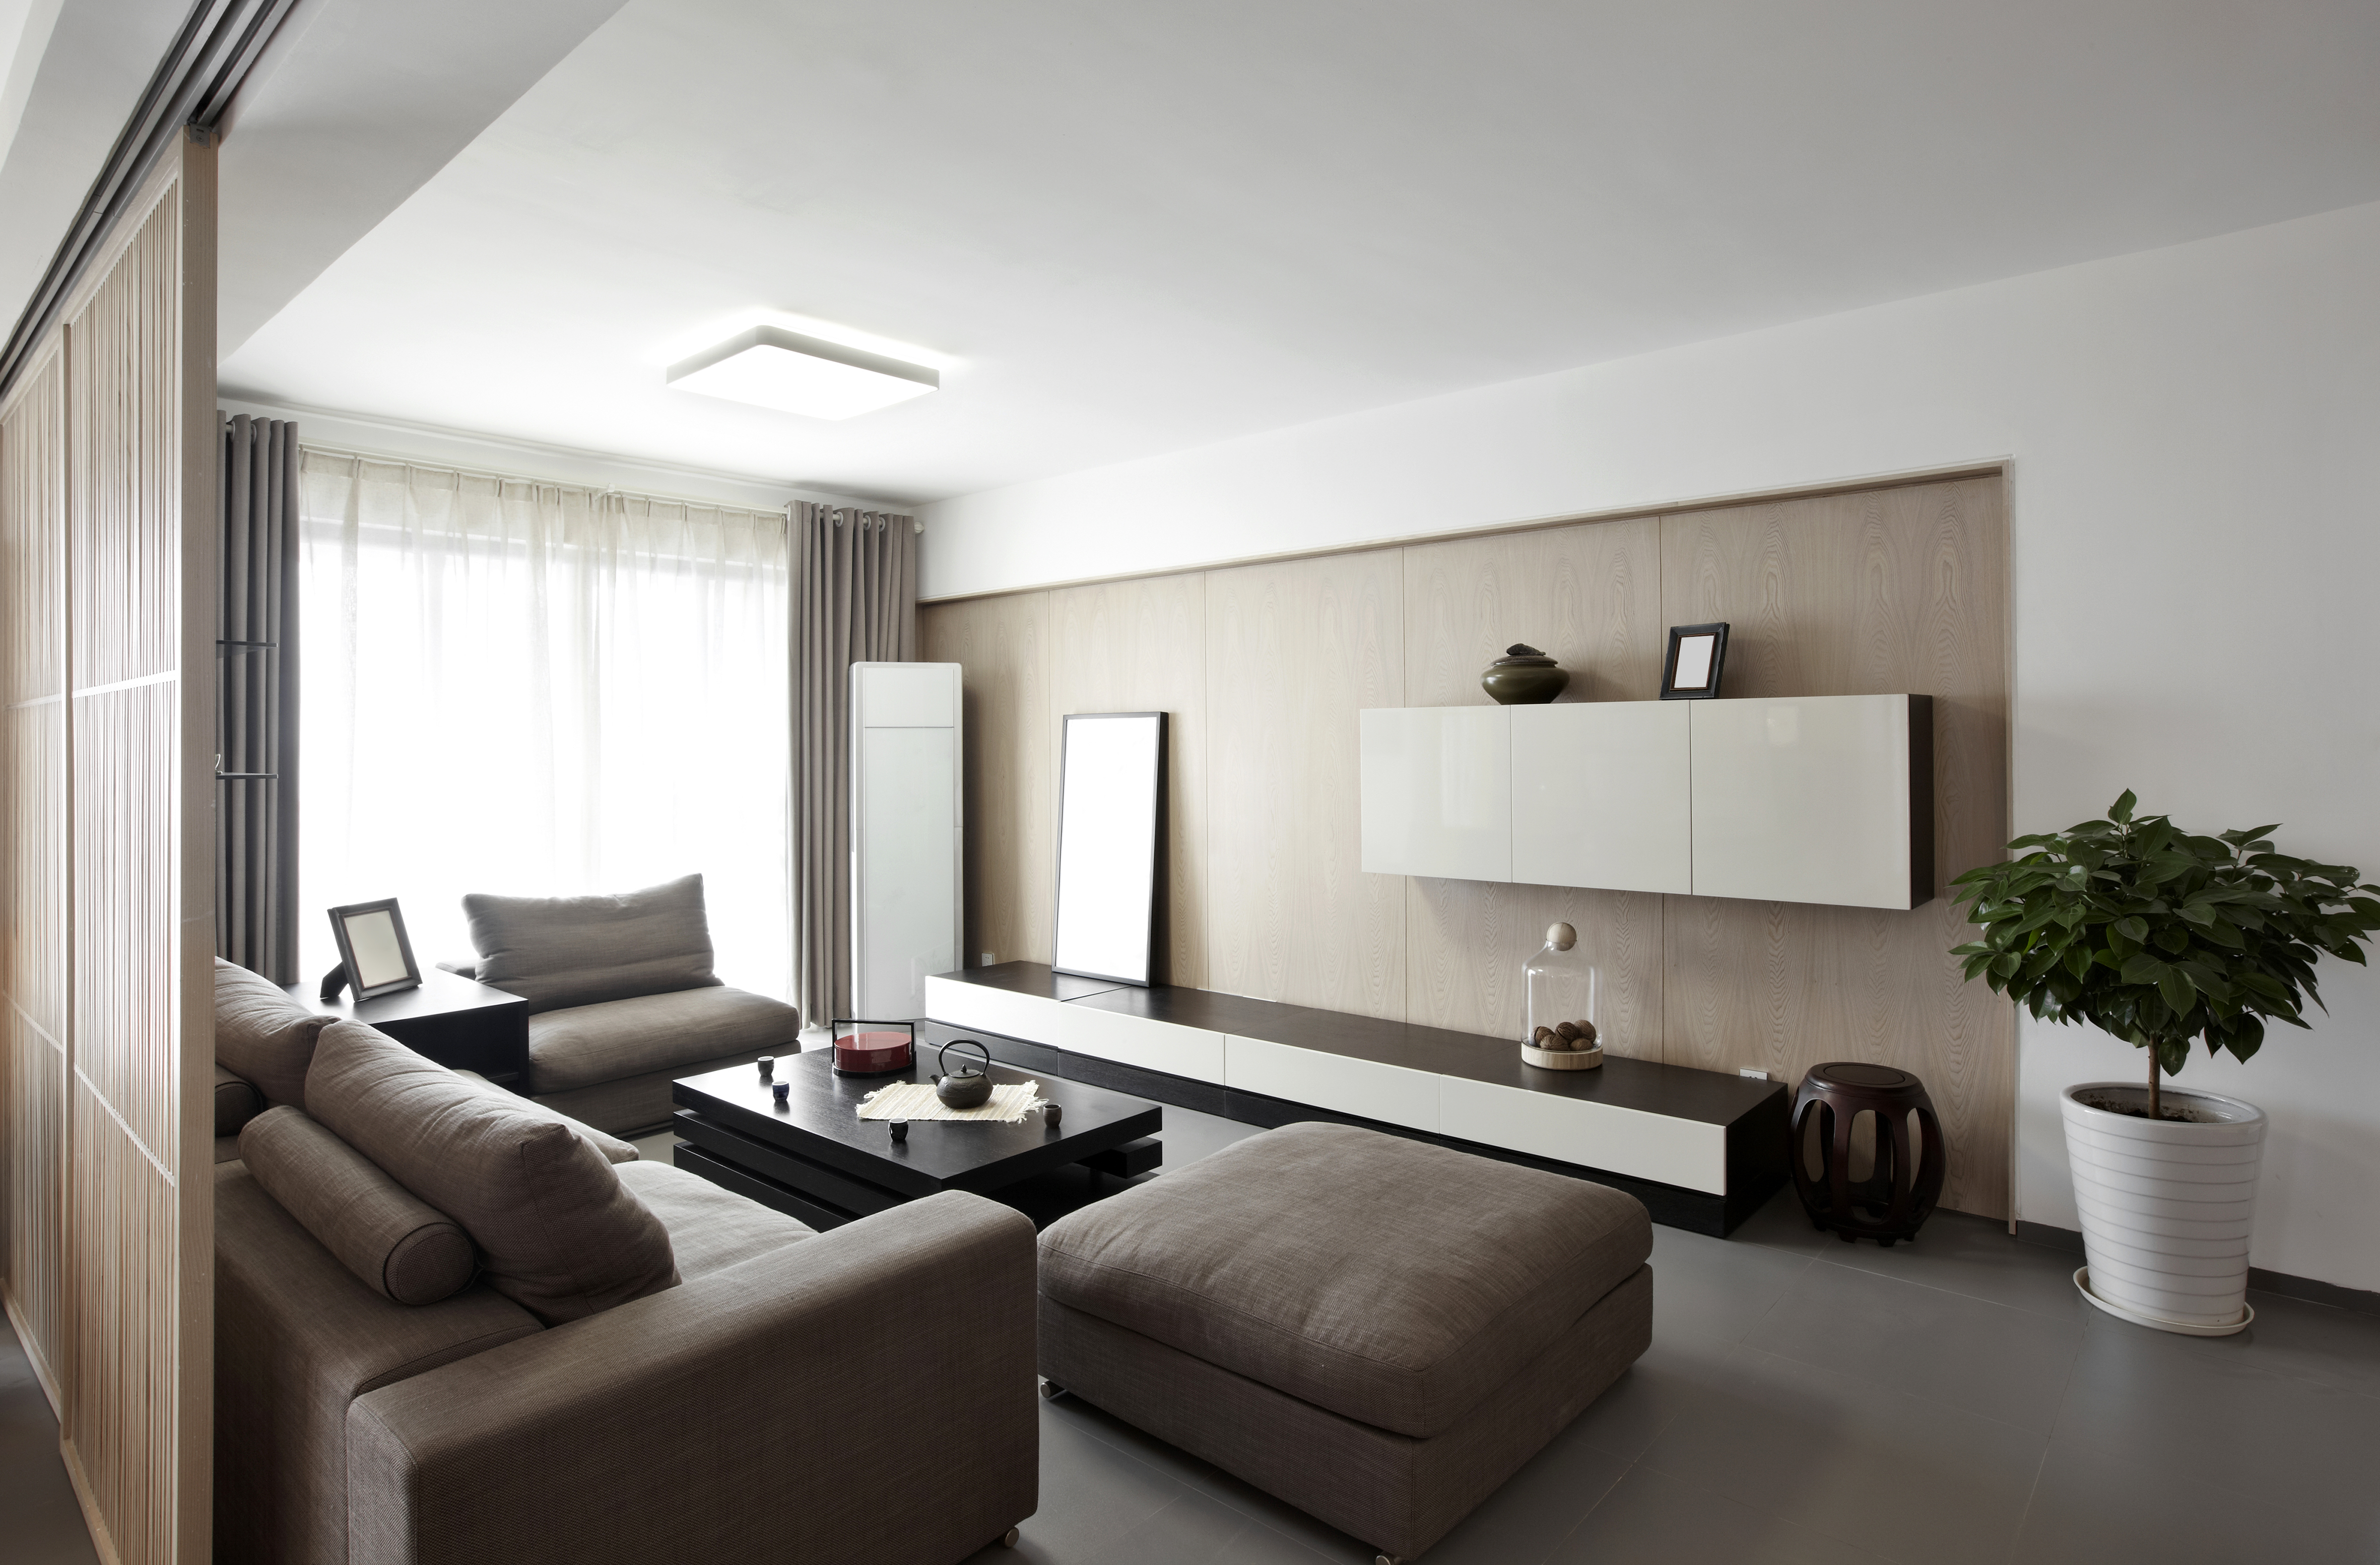
After the brackets are positioned, you will be ready to begin installing the various layers of curtains. Sheer panels provide homeowners with an element of privacy without blocking all of the light that enters a window. These lightweight curtains are available in a wide variety of colours and patterns, allowing you to customise the base layer of your window treatment. Commonly, a solid neutral colour, like white or cream, is chosen because they are aesthetically pleasing from the street and easily coordinate with your decor and the other curtain layers.
Step 4: Hang Blockout Panels
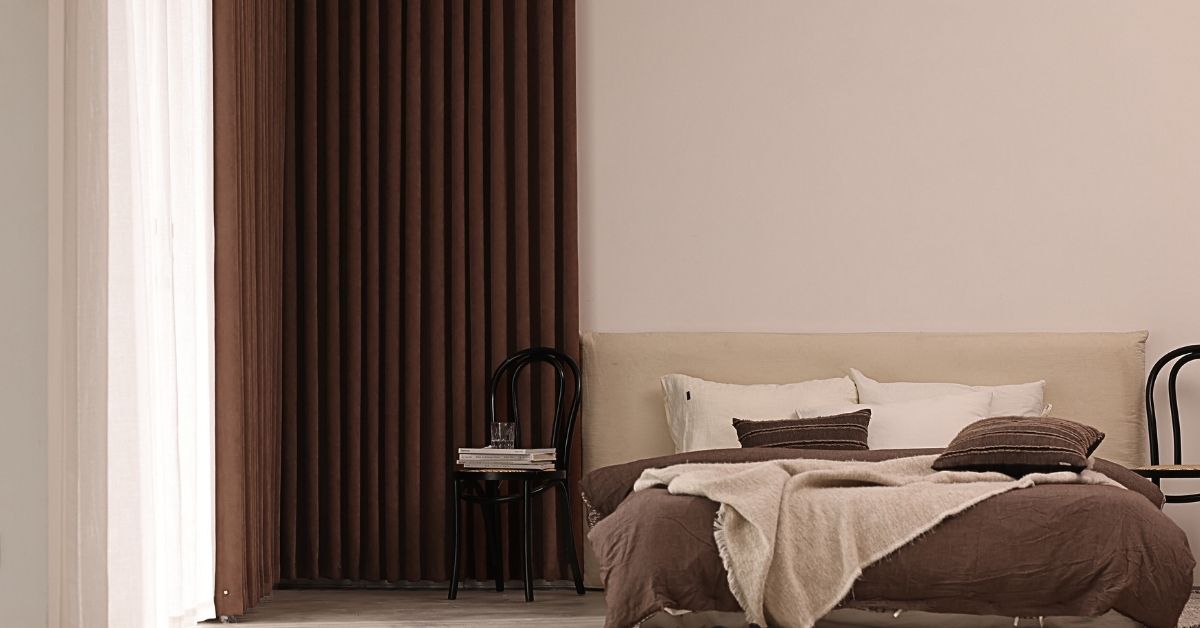
Sheer panels provide plenty of privacy during daytime hours, but during the evening hours, they can allow passersby to see into your home. Because of this, it is important to have another layer that you can easily open and close when needed to achieve the privacy you desire. Because they offer a combination of privacy, room-darkening, and energy efficiency benefits, blockout eyelet curtains are a wise choice for this second layer of curtains. Additionally, their large, stainless steel eyelets allow them to glide effortlessly across the curtain rod for easy operation.
Step 5: Secure Finials
While many curtain rods come with standard finials on the ends, this doesn’t mean that you have to keep them. Selecting unique finials for your layered window treatment can be just as much fun as selecting the curtains themselves. In addition to providing your window treatment with a decorative, finished appearance, finials also serve a functional purpose. Installing appropriate-sized finials will prevent the curtains from accidentally sliding off the end of the curtain rod.
Step 6: Consider Adding a Pelmet and Holdbacks
Once you have all of your layers hung and assembled, you have the option of adding an additional layer to your window treatment with a pelmet. A pelmet sits above your curtains and is generally a narrow border of cloth or wood that is designed to conceal the curtain fittings. You can purchase pre-made pelmets, or you can get creative and make your own. Installing holdbacks on either side of the window will allow you to sweep back the outer layer when it is open, and when paired with a pelmet, results in a professional-looking layered window treatment.
Layering Curtains Overview
Now that you know how to layer curtains and the accessories you will need to get the job done, you are ready to shop for affordable curtains online. Quickfit Blinds & Curtains is your one-stop-shop for everything that you need to create your own stunning layered window treatment. Our $9.95 flat-rate delivery on all ready-made items and free fabric swatches make outfitting your windows with one-of-a-kind curtains easier than you ever thought possible. Shop our wide variety of curtains, rods, and finials to get started today!

